How to find the right clip in three hours of interview footage
Find usable moments in hours of footage with transcripts, visual search, and metadata instead of scrubbing every recording by hand.
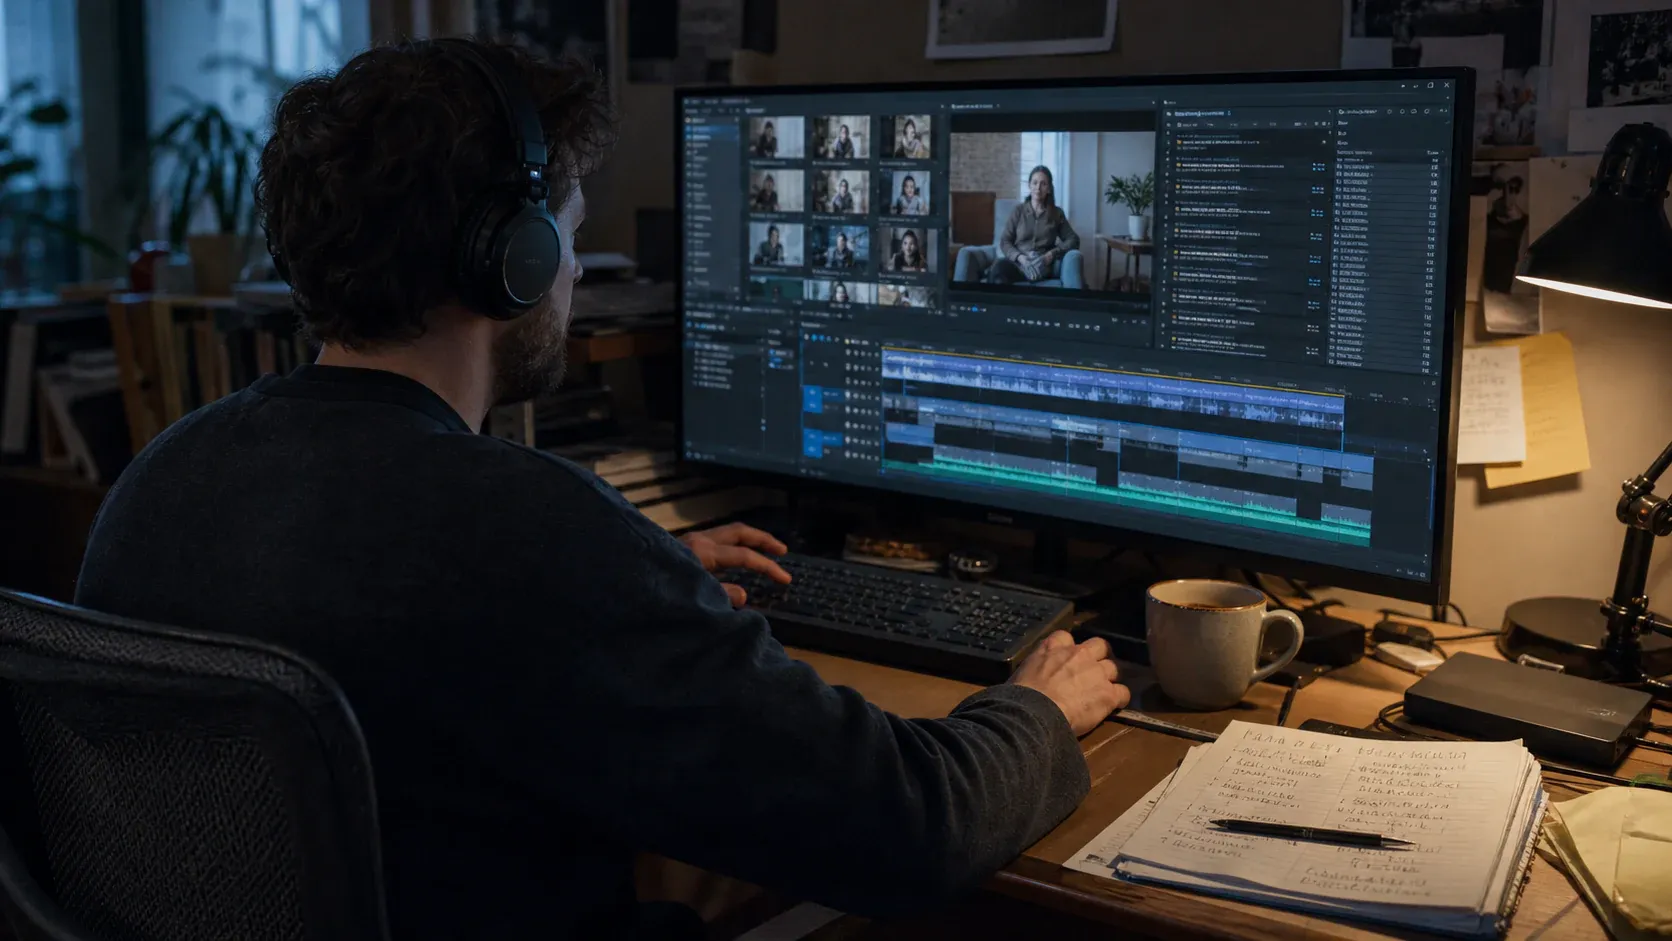
Three hours of interview. Four camera angles. A deliverable that is ninety seconds long.
The edit is not hard. The finding is hard.
Most editors handle this the same way, which is to watch everything at 1.5x with a notepad open, building selects for an afternoon before making a single cut. It works. It is also the single largest block of unbillable-feeling time in a talking-head job, and it scales linearly with footage, which is the wrong direction.
This is a method for compressing that block. It assumes nothing about which editor you use, though the last section covers how AVE implements it.
Why scrubbing is the wrong default
Watching footage in order optimises for completeness. You will not miss anything, because you saw all of it.
But that is not the actual requirement. The requirement is to find perhaps eight usable moments, and the cost of linear review is paid whether or not the moments are evenly distributed. They never are. Most interviews have long stretches with nothing in them and two minutes that carry the piece.
The second problem is that human recall degrades over a session. By hour two you are no longer comparing candidates against each other, you are comparing them against the last thing you saw. The best answer to “which take of that line was strongest” is often decided by recency rather than quality.
Search does not fix taste. It fixes the part where you cannot hold three hours in your head at once.
Get the material indexed first
Nothing below works without an index. This is the step people skip and then conclude that AI search is disappointing.
You need four kinds of signal, and they do different jobs.
Transcripts with accurate timecodes. Not a transcript file sitting next to the video, but text bound to time ranges, so that finding a phrase means finding a moment. This is the highest-value index for any spoken-word footage, and it is now cheap. Whisper-class models running locally on Apple Silicon will process a one-hour interview in a few minutes on an M4-class Mac, on device.
Visual descriptions. What is in the shot. Subjects, actions, setting, framing, whether anyone is speaking, whether the product is visible. This is what makes B-roll findable, because B-roll has no dialogue to search.
Metadata. Camera, timecode, creation date, resolution, duration, card structure. Unglamorous and genuinely useful, especially for multi-camera work where “the wide from the second setup” is a metadata query rather than a semantic one.
Project context. What is already on the timeline, what is in which bin, what you selected before. This is the signal most tools ignore and the one that most improves ranking, because your previous choices describe what you consider good.
Run analysis once, at import, while you do something else. On a modern Mac this happens in the background and finishes before you have finished labelling folders.
The method
Once the material is indexed, the search itself has a shape. It is roughly the same shape every time.
1. Write the spine before you search
Before touching the footage, write the three to six things the piece has to say, in order. Plain sentences.
The old process was manual. We tried the obvious fix and it failed. Here is what we built instead. Here is what changed for customers.
This takes four minutes and it is the highest-leverage part of the process. Every subsequent search is now a search for evidence supporting a specific claim, rather than a general trawl for good bits. General trawls produce a folder of nice moments that do not assemble into anything.
2. Search by meaning, not by keyword
For each line of the spine, search for what was said, not for the exact words. Interviewees rarely use your phrasing.
Searching for “onboarding friction” should surface someone saying “it took us three weeks before anyone could actually log in.” That is the whole point of semantic search over a transcript, and if your tool only does literal string matching you will miss most of the good material.
Useful query patterns for spoken footage:
- the moment somebody explains why the old way did not work;
- the clearest one-sentence description of what the product does;
- anywhere a specific number or result is mentioned;
- the answer that follows a long pause, which is often the honest one;
- any point where the interviewee corrects themselves, because the second attempt is usually the better take.
3. Search visually for everything without dialogue
The spine also needs cutaways, and those are not in the transcript.
Visual search is a different query language. You are describing the frame: a clean product close-up on a neutral background, two people at a whiteboard, hands typing, an exterior establishing shot, someone laughing.
This is where a large B-roll folder stops being a liability. The material was always there, it was just only findable by whoever shot it.
4. Review the evidence, do not trust the ranking
Every result should be previewable at its source moment, in context, with a little runway on either side.
Look at the actual clip. Ranking algorithms are confidently wrong at a predictable rate, and the failure is rarely that the result is irrelevant. It is that the phrase is right and the delivery is flat, or the line is perfect but a phone rings over it.
A search result is a candidate. It is not a decision.
5. Keep the shortlist small and deliberately competitive
For each spine point, keep two candidates. Not one, because you want a comparison. Not six, because you will not make a decision.
Two candidates per point, for five points, is ten clips. That is a rough cut you can assemble in a few minutes and react to honestly.
6. Assemble in spine order and watch it once
Cut them together in order, no polish, no transitions, no music. Watch it start to finish without stopping.
The gaps become obvious immediately in a way they never do while reading a selects list. You will usually discover that one spine point has no good evidence and needs to be cut or reshot, and that is worth knowing on day one rather than after you have graded everything.
What good tooling should give you
Whatever you use, the same handful of properties determine whether this method is fast or frustrating.
- Search across speech and visuals in one place, not two separate features.
- Semantic matching, so paraphrases count.
- Results that resolve to exact time ranges rather than whole files.
- Preview at the source moment, in one keystroke.
- A direct path from a result to the timeline, keeping the link to the original media.
- Analysis that runs once and stays available across sessions.
That last point matters more than it sounds. If the index evaporates when you close the project, you will re-do the expensive step every time, and you will stop bothering.
Where the category is
This is no longer an exotic capability, which is good news for everyone.
Adobe shipped Media Intelligence in Premiere, letting you search footage by content and spoken word. Apple added natural-language image search to Final Cut Pro 12, so you can type “stairs” and get shots containing stairs. Blackmagic has been adding AI-assisted organisation to Resolve.
The differences between these tools are less about whether they can search and more about where the analysis happens, how much of the library is indexed, and what you can do with a result once you have it.
That last one is the real dividing line. Finding a moment is half the job. A tool that finds it and leaves you to locate it manually in the bin has automated the easy part.
How this works in AVE
AVE is built around this method rather than around a search box added later.
Footage analysis runs locally at import, producing timed transcripts and visual notes on your Mac using the included Local AI engine. Search ranks across transcript, visual evidence, detections, metadata, and timeline context together, so a query can be answered by what was said, what is visible, or both. Results resolve to exact source ranges you can preview before committing to anything.
Footage Memory covers the case search cannot: teaching AVE the specific people, places, and products you care about, confirmed by you on an exact source range, then recalled across your local projects. Similar-looking footage never becomes a confirmed memory without your review, because a false positive in a memory system is worse than no memory at all.
And because AVE is a real timeline editor rather than a search tool, a result goes straight into a sequence. You can ask for the rough cut in step 6 as a reviewable plan, approve it, and get an editable assembly rather than a list of timecodes to type in by hand.
You can see how footage intelligence works, read the thinking behind starting with footage you already have, or follow the complete AI video editing workflow for YouTube, podcasts, and interviews. If the deliverable is mainly social clips, compare the full-timeline workflow with an Opus Clip alternative for Mac or build short-form clips from long footage.
The three hours do not get shorter. The part where you have to watch all of them does.